I know that I choose to do my photography on difficult mode. I could really simplify the entire process of making images and use a digital camera. I often catch myself looking at the second hand digital market and wondering about selling one of my old camera boxes and replacing it with a (relatively) up to date model. I have also borrowed the occasional digital camera to see if I like the process anymore than I did when using my Nikon d750 way back. I have as yet to find anything that gives me such a tactile experience as using an old camera.
So I guess I’ll stick with it for a while…
The thought with this post was to do a breakdown of my process, going from camera to print. I realise there are endless videos on Youtube of people’s analogue process but this is my take on how I make an image.
I have been home developing my film since about 2018. Lab services were fine for a while but I became impatient with the wait for the post. I wanted them faster than 5 days and the final straw came when I had a lab leave clip marks a good 1/3 of the way down an image. From then on I decided that I would be the person taking care of my film start to finish. I spent a weekend at a friend’s (Thanks Tomaso) where he took me through the dev process, I committed to it from then on. Fixed myself up with a Fuji 5L kit and bought all the tanks and spools and associated gear to get me going. It now takes around an hour to get negatives out to dry. Still get nervous when I take the lid off the dev tank. If you have ever done processing you will know that feeling… it never goes away
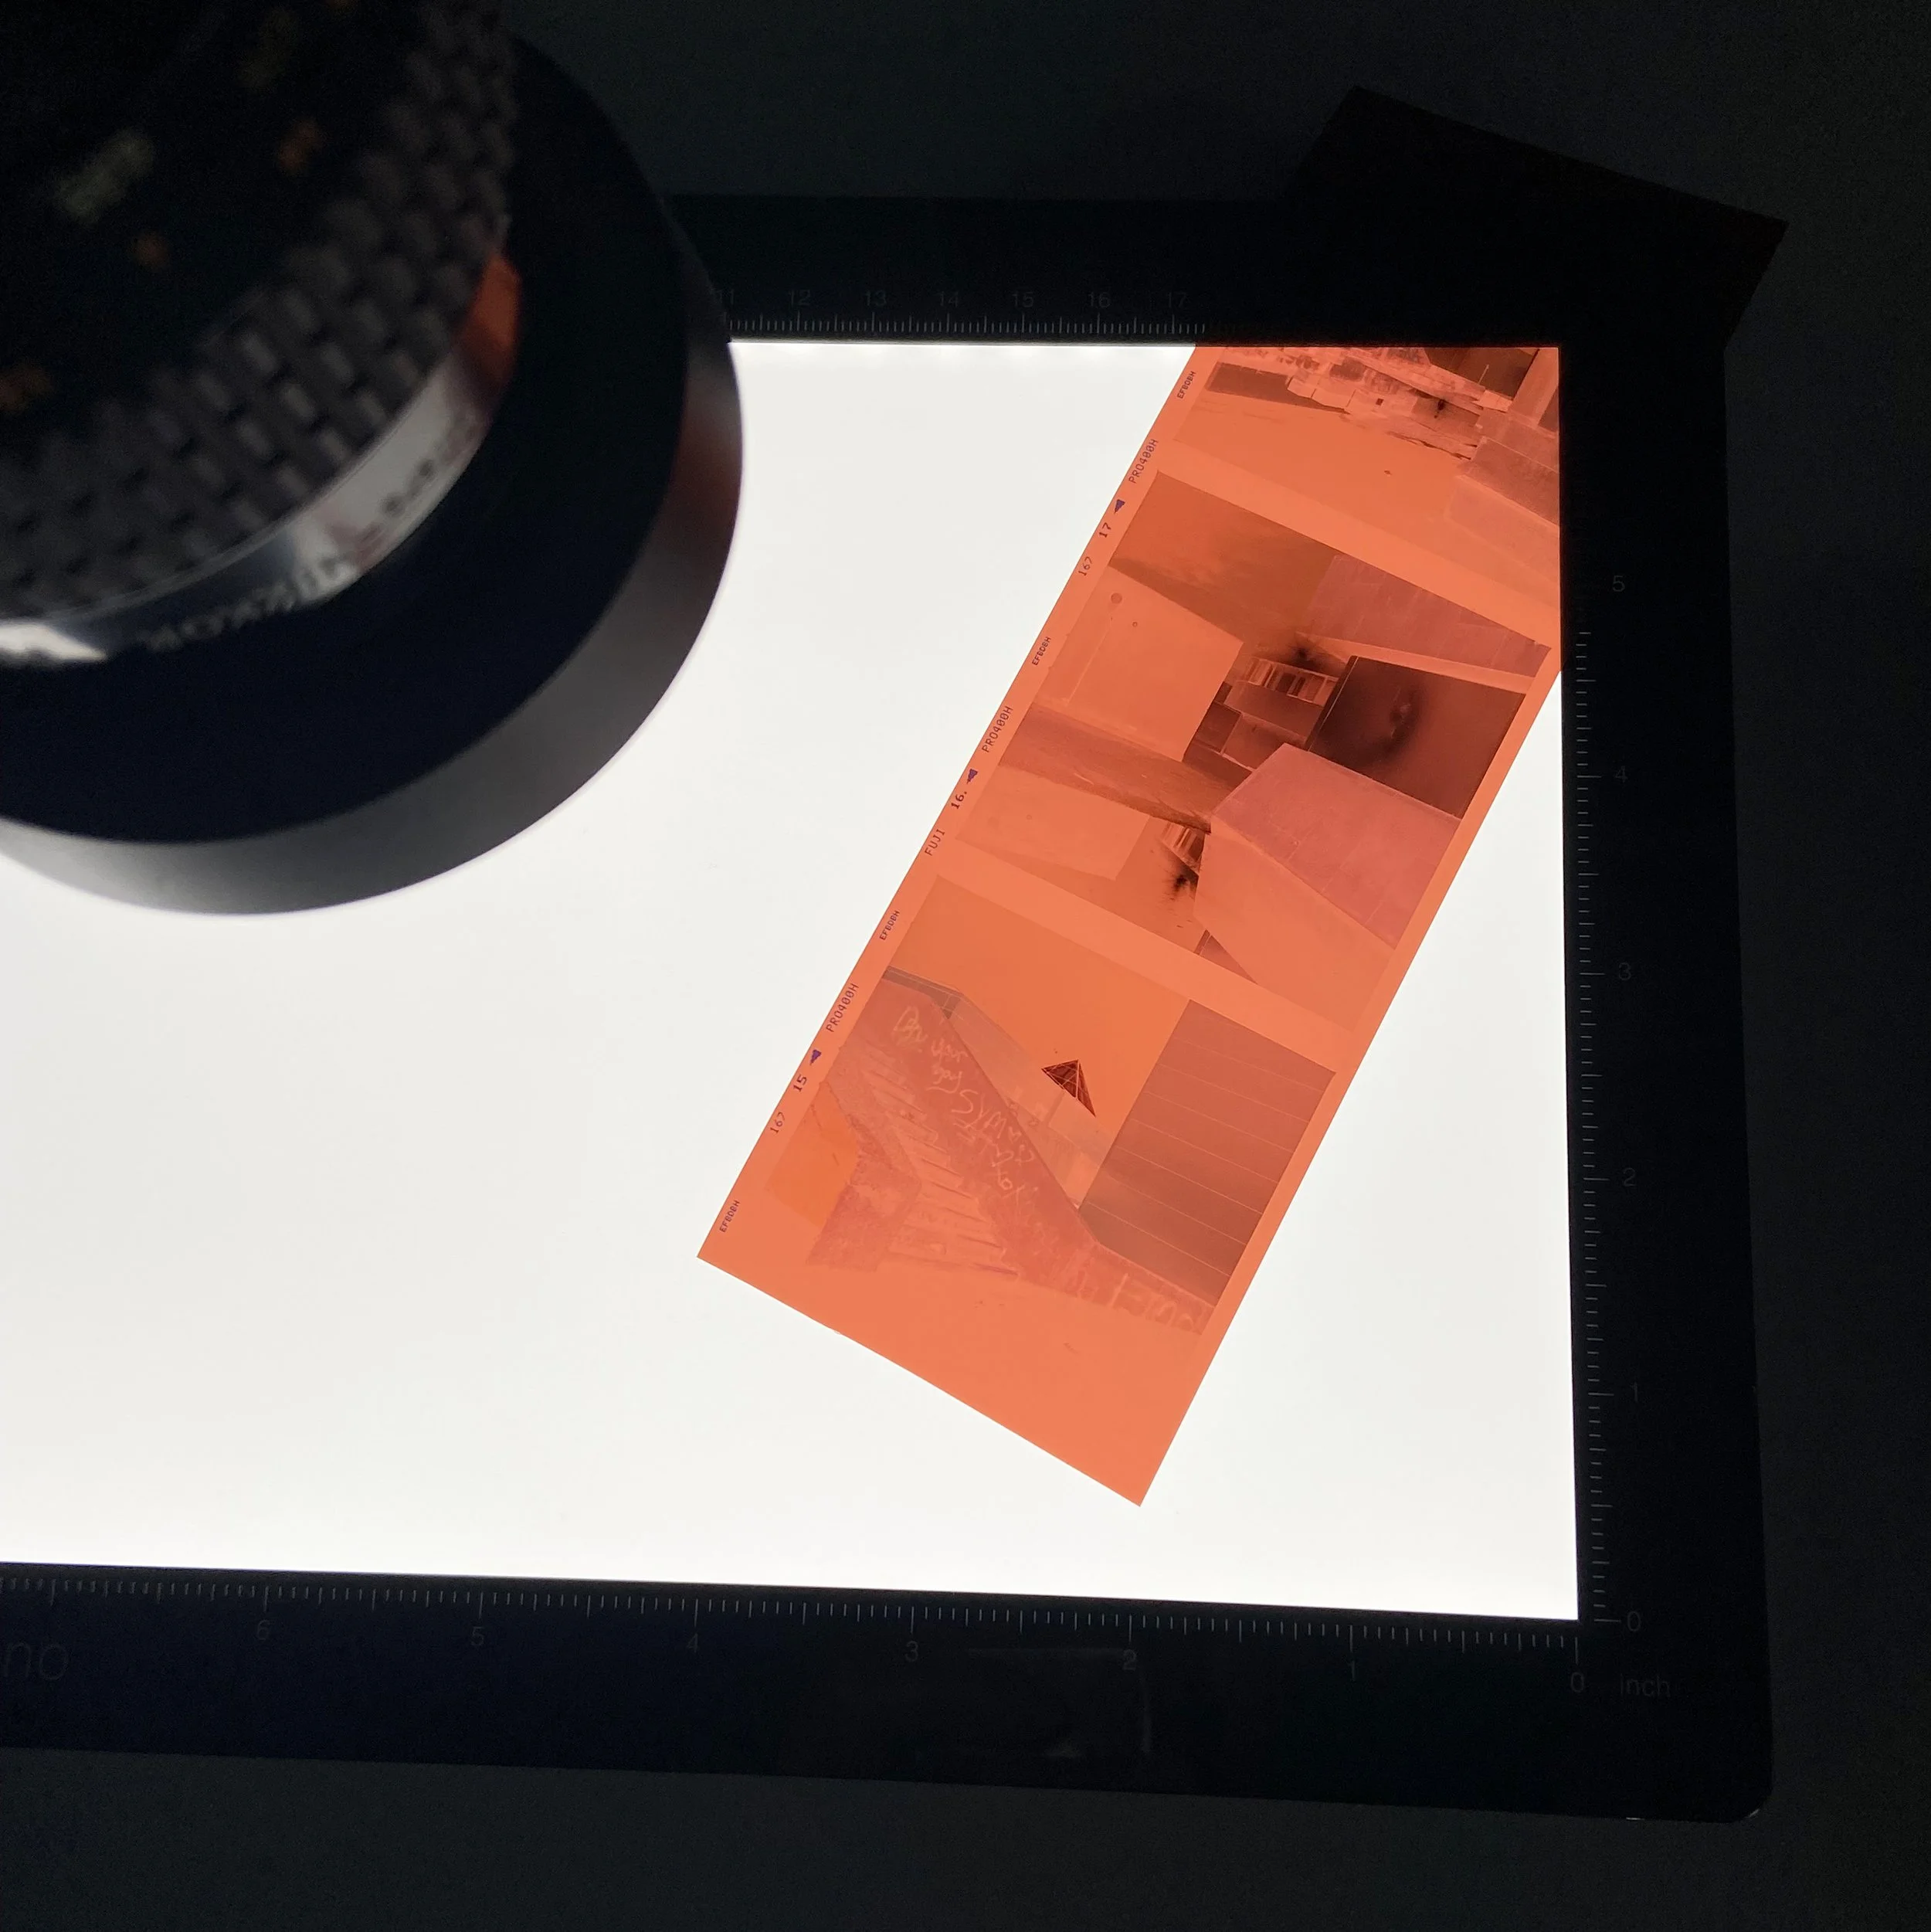
Once they’re all nice and flat and dry, although not always flat… Kodak Gold 120! This is the time to cut them into strips and put them into the scanner.
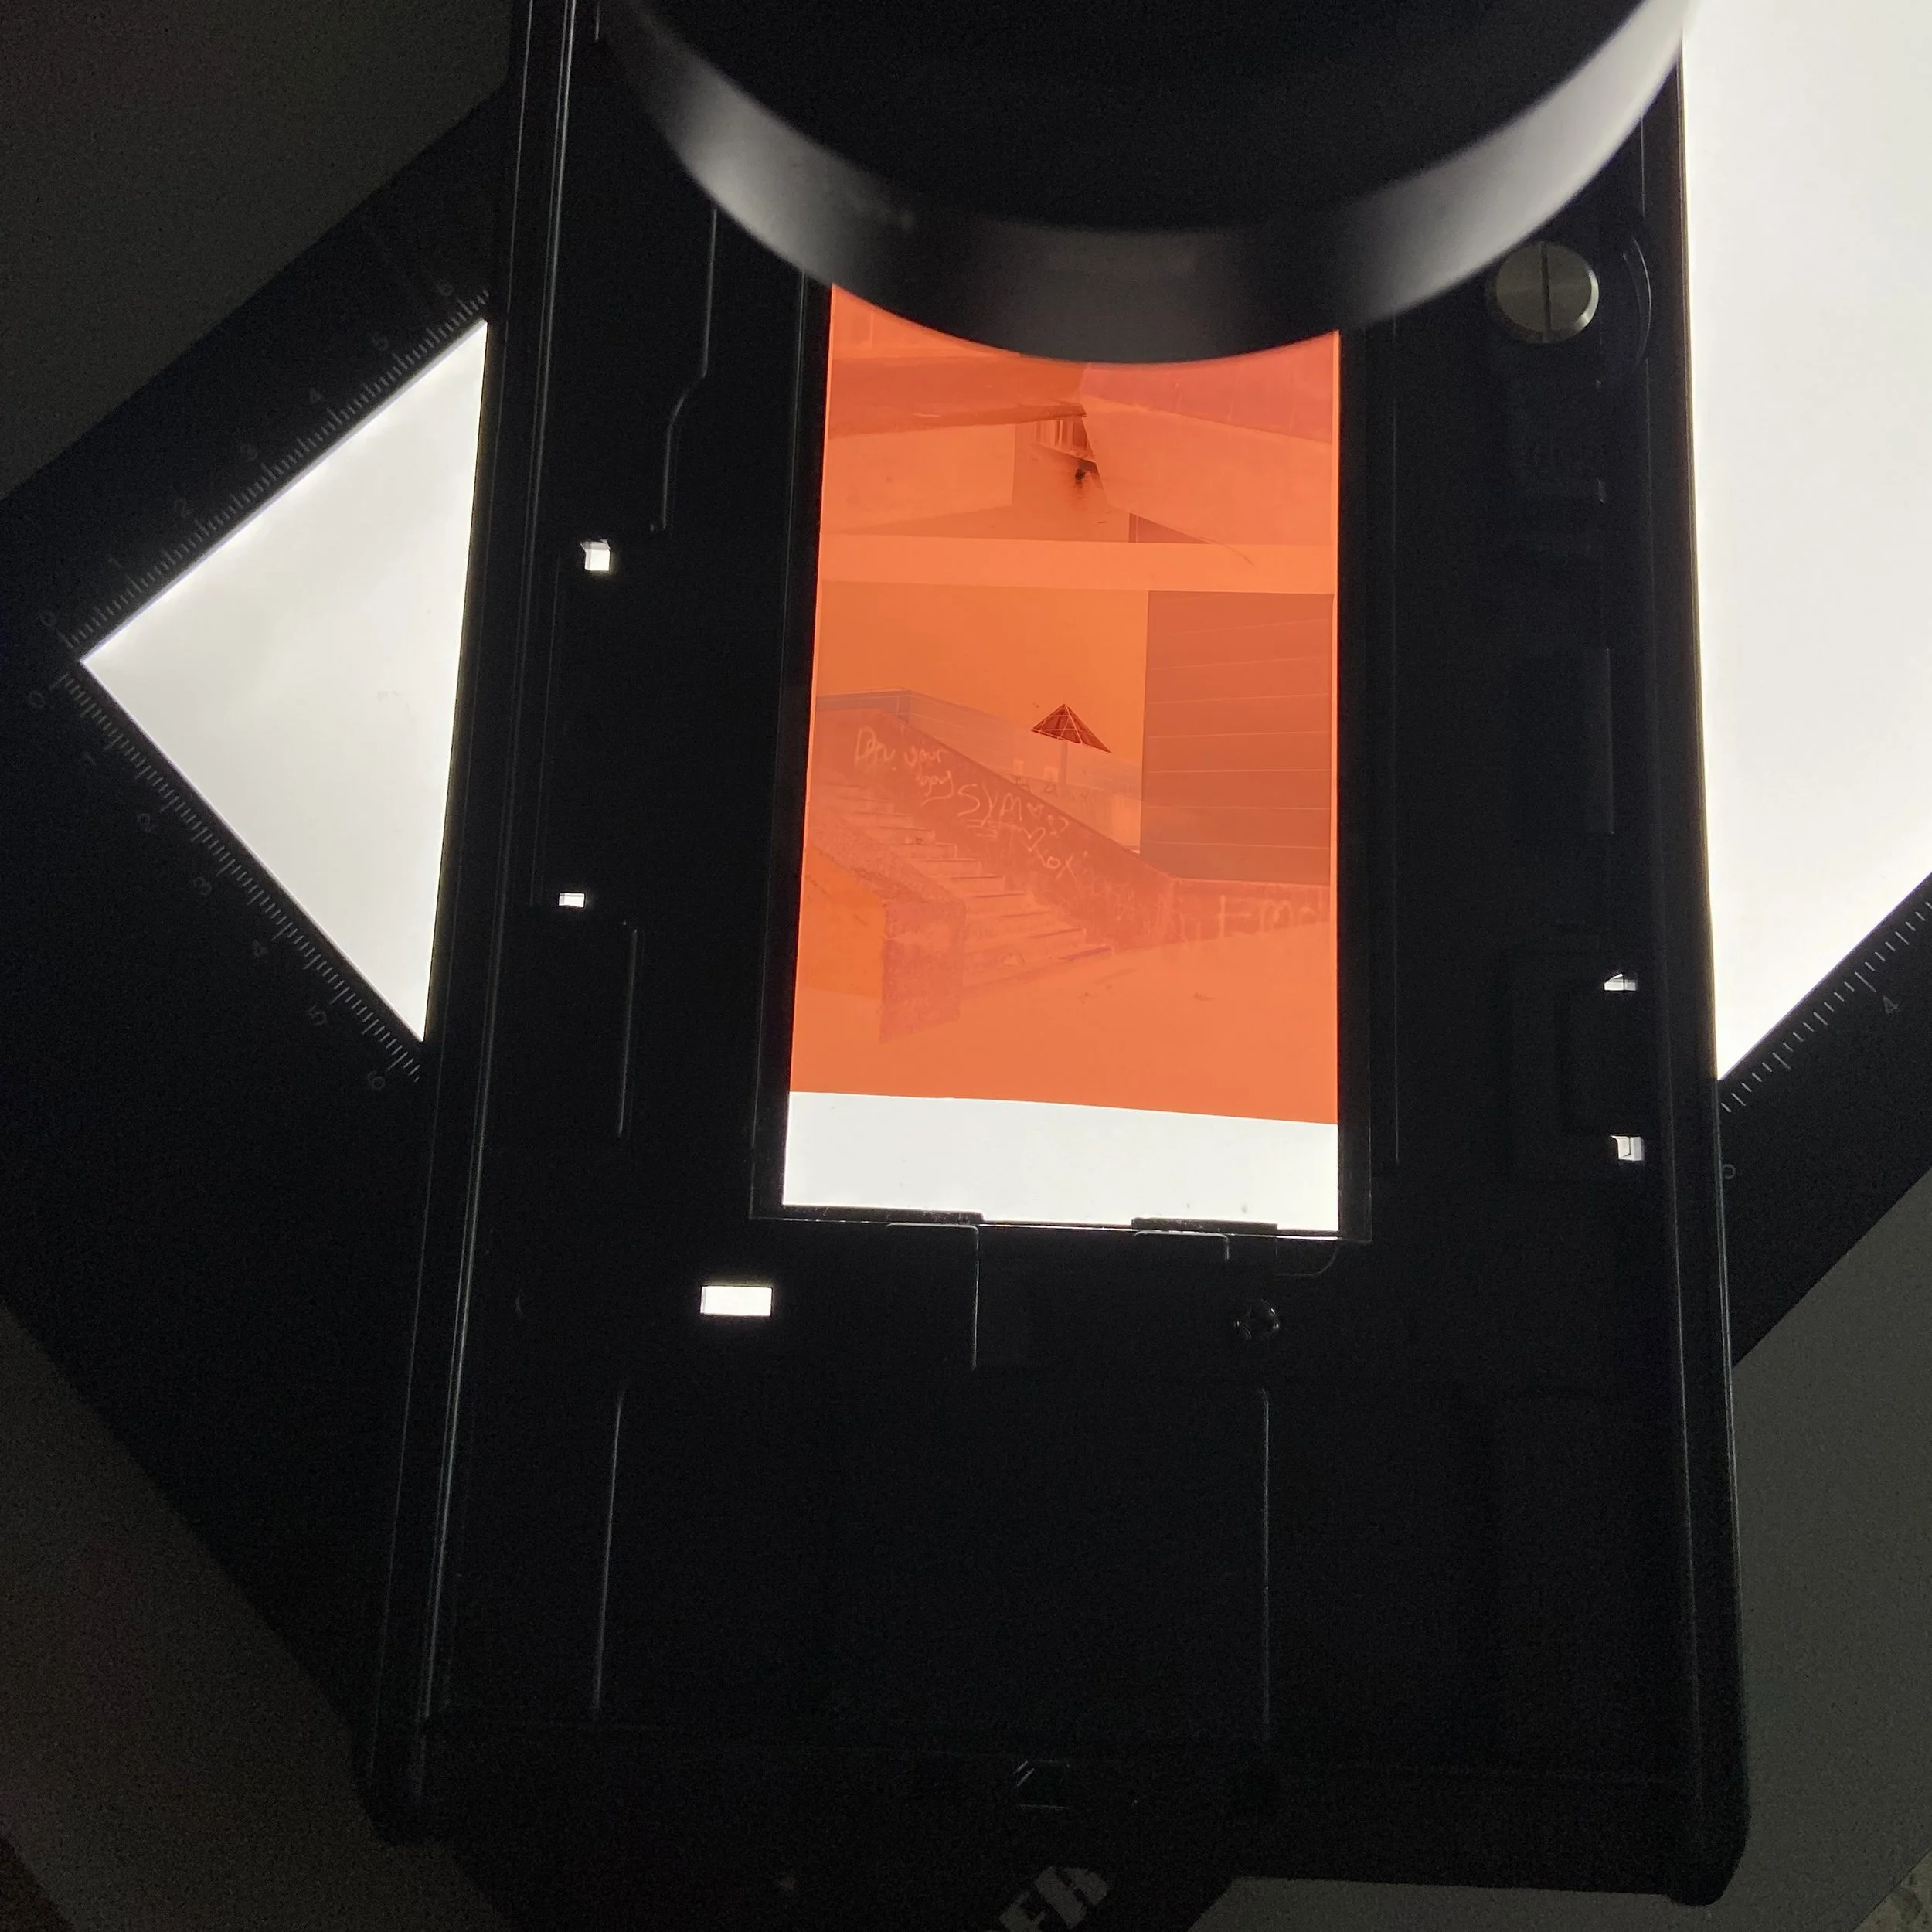
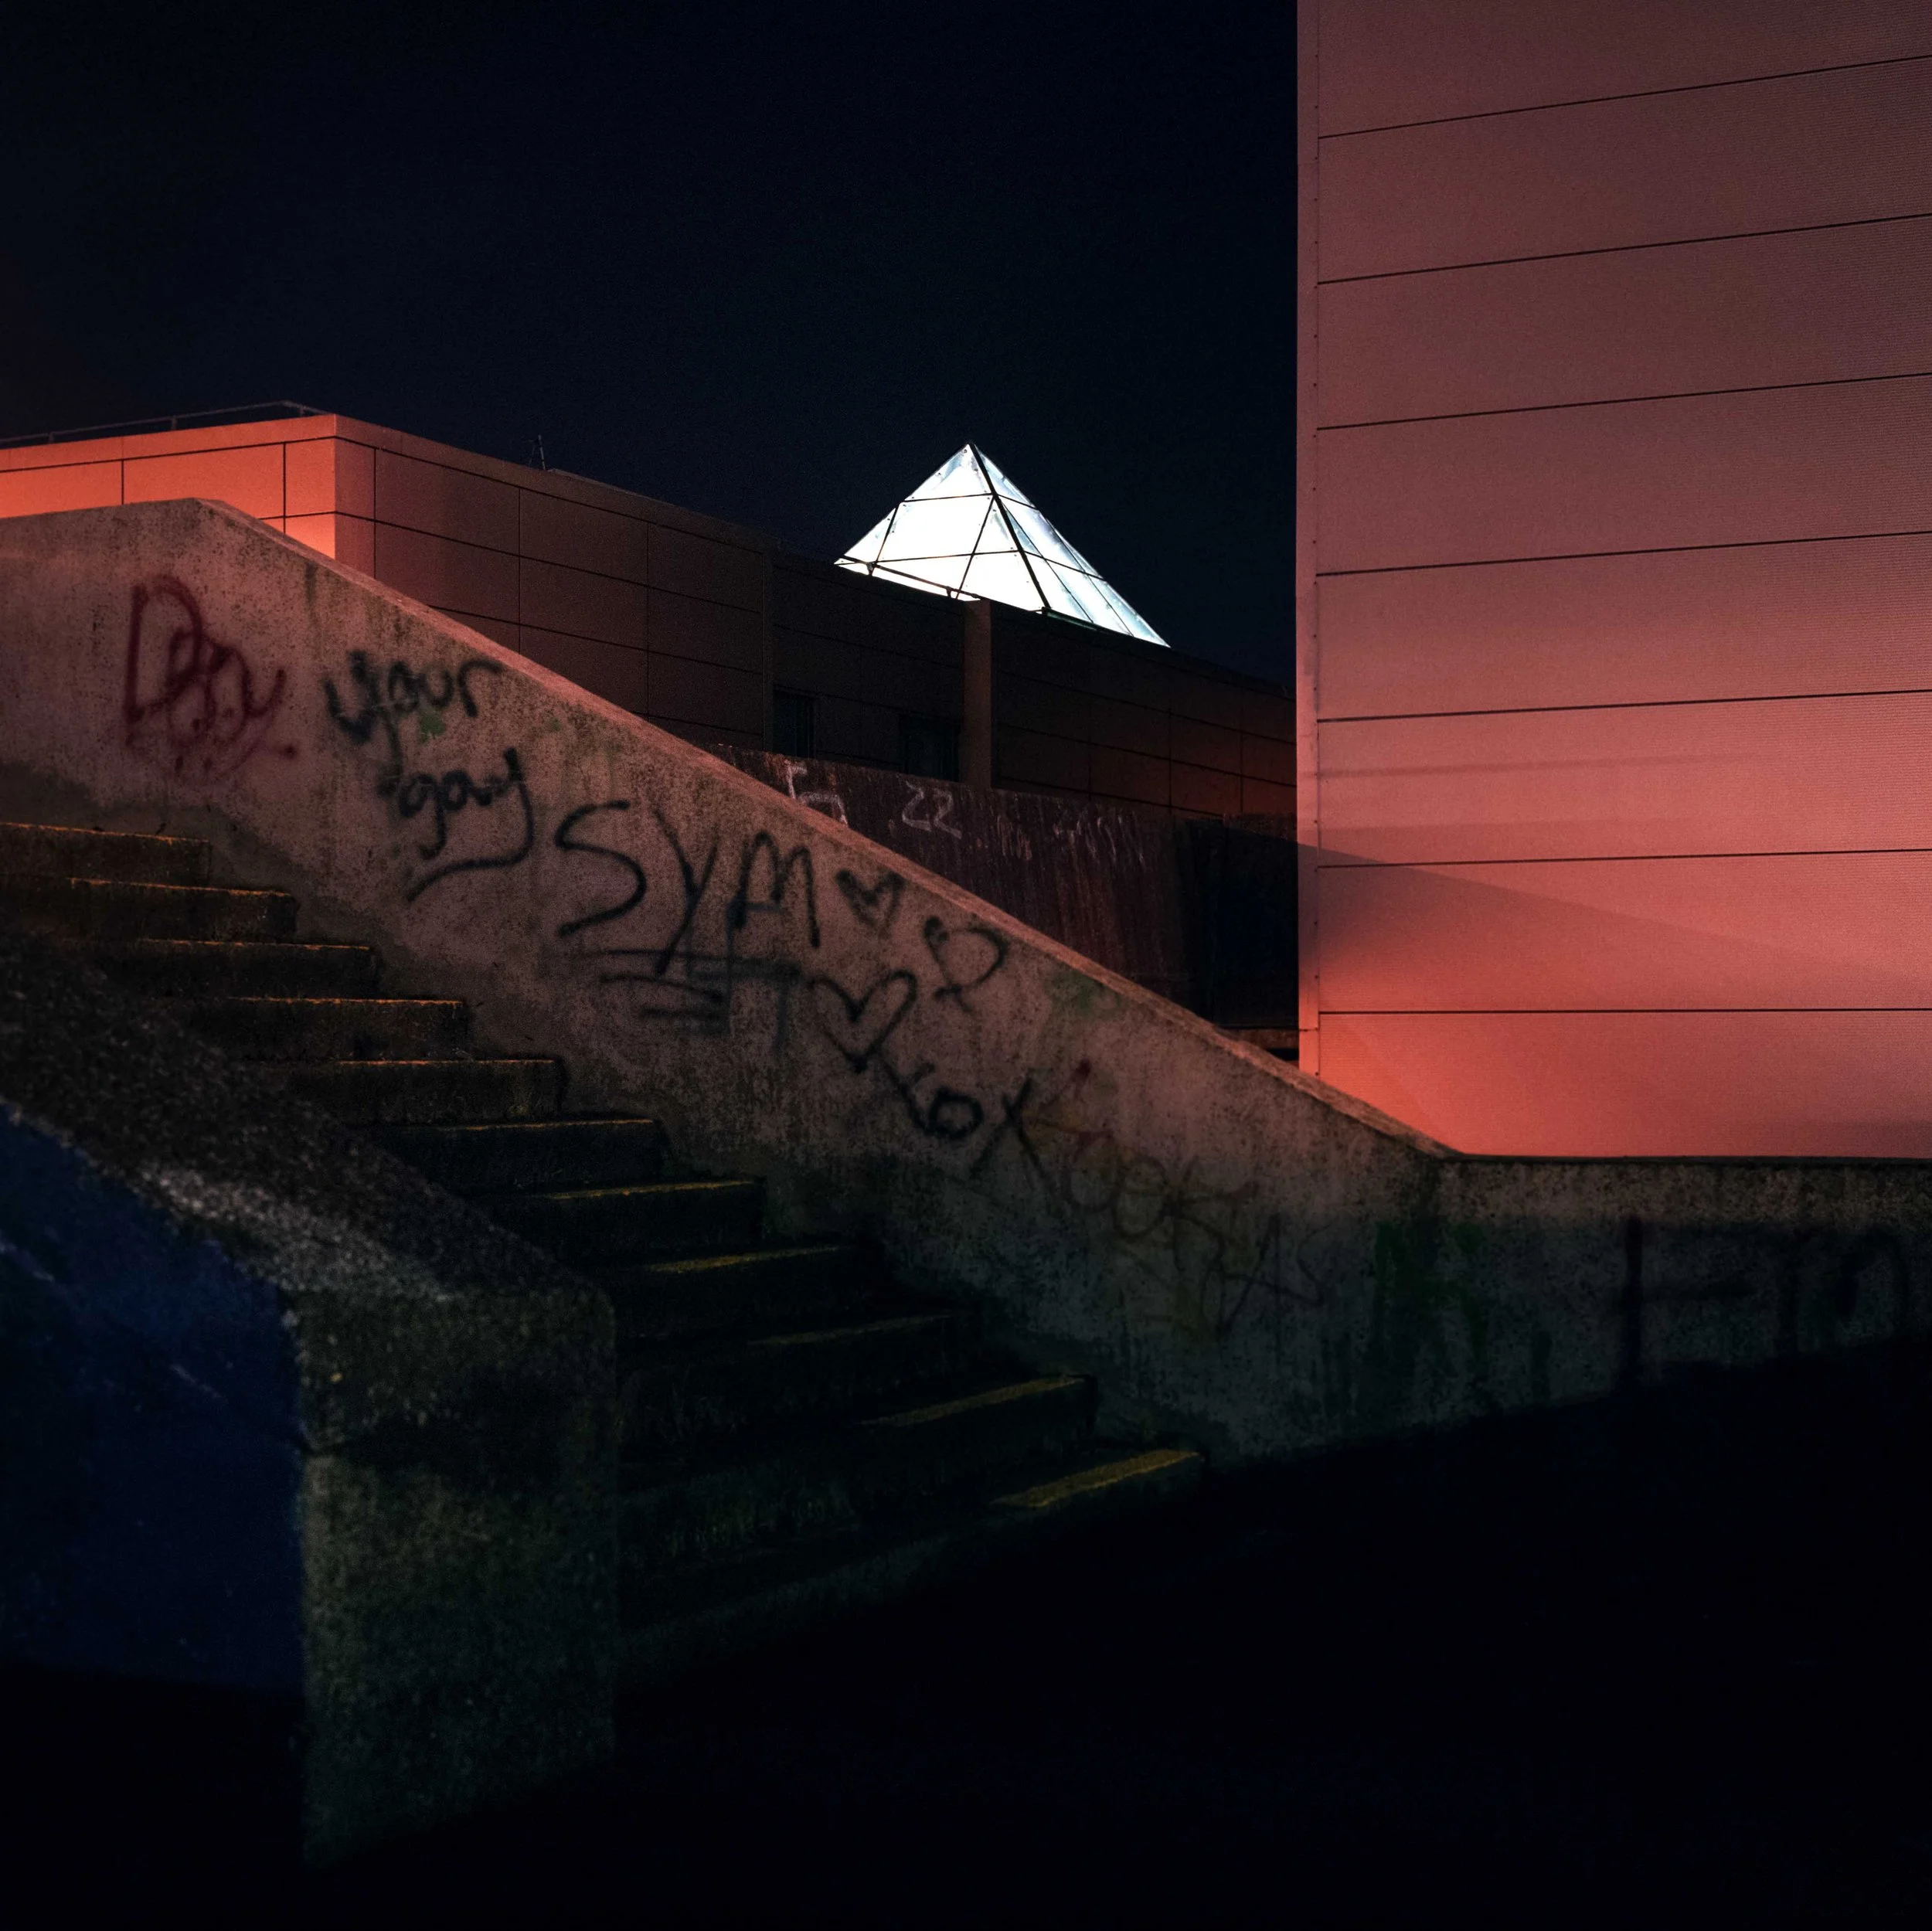
For the purposes of this blog I am using on an image from Blackpool taken in 2024. It’s a night shot from a concrete stair landing. The stairs led up to what was the magistrates court. The entire area no longer exists. It was flattened sometime in 2025 and it is currently an overspill car park for the town.
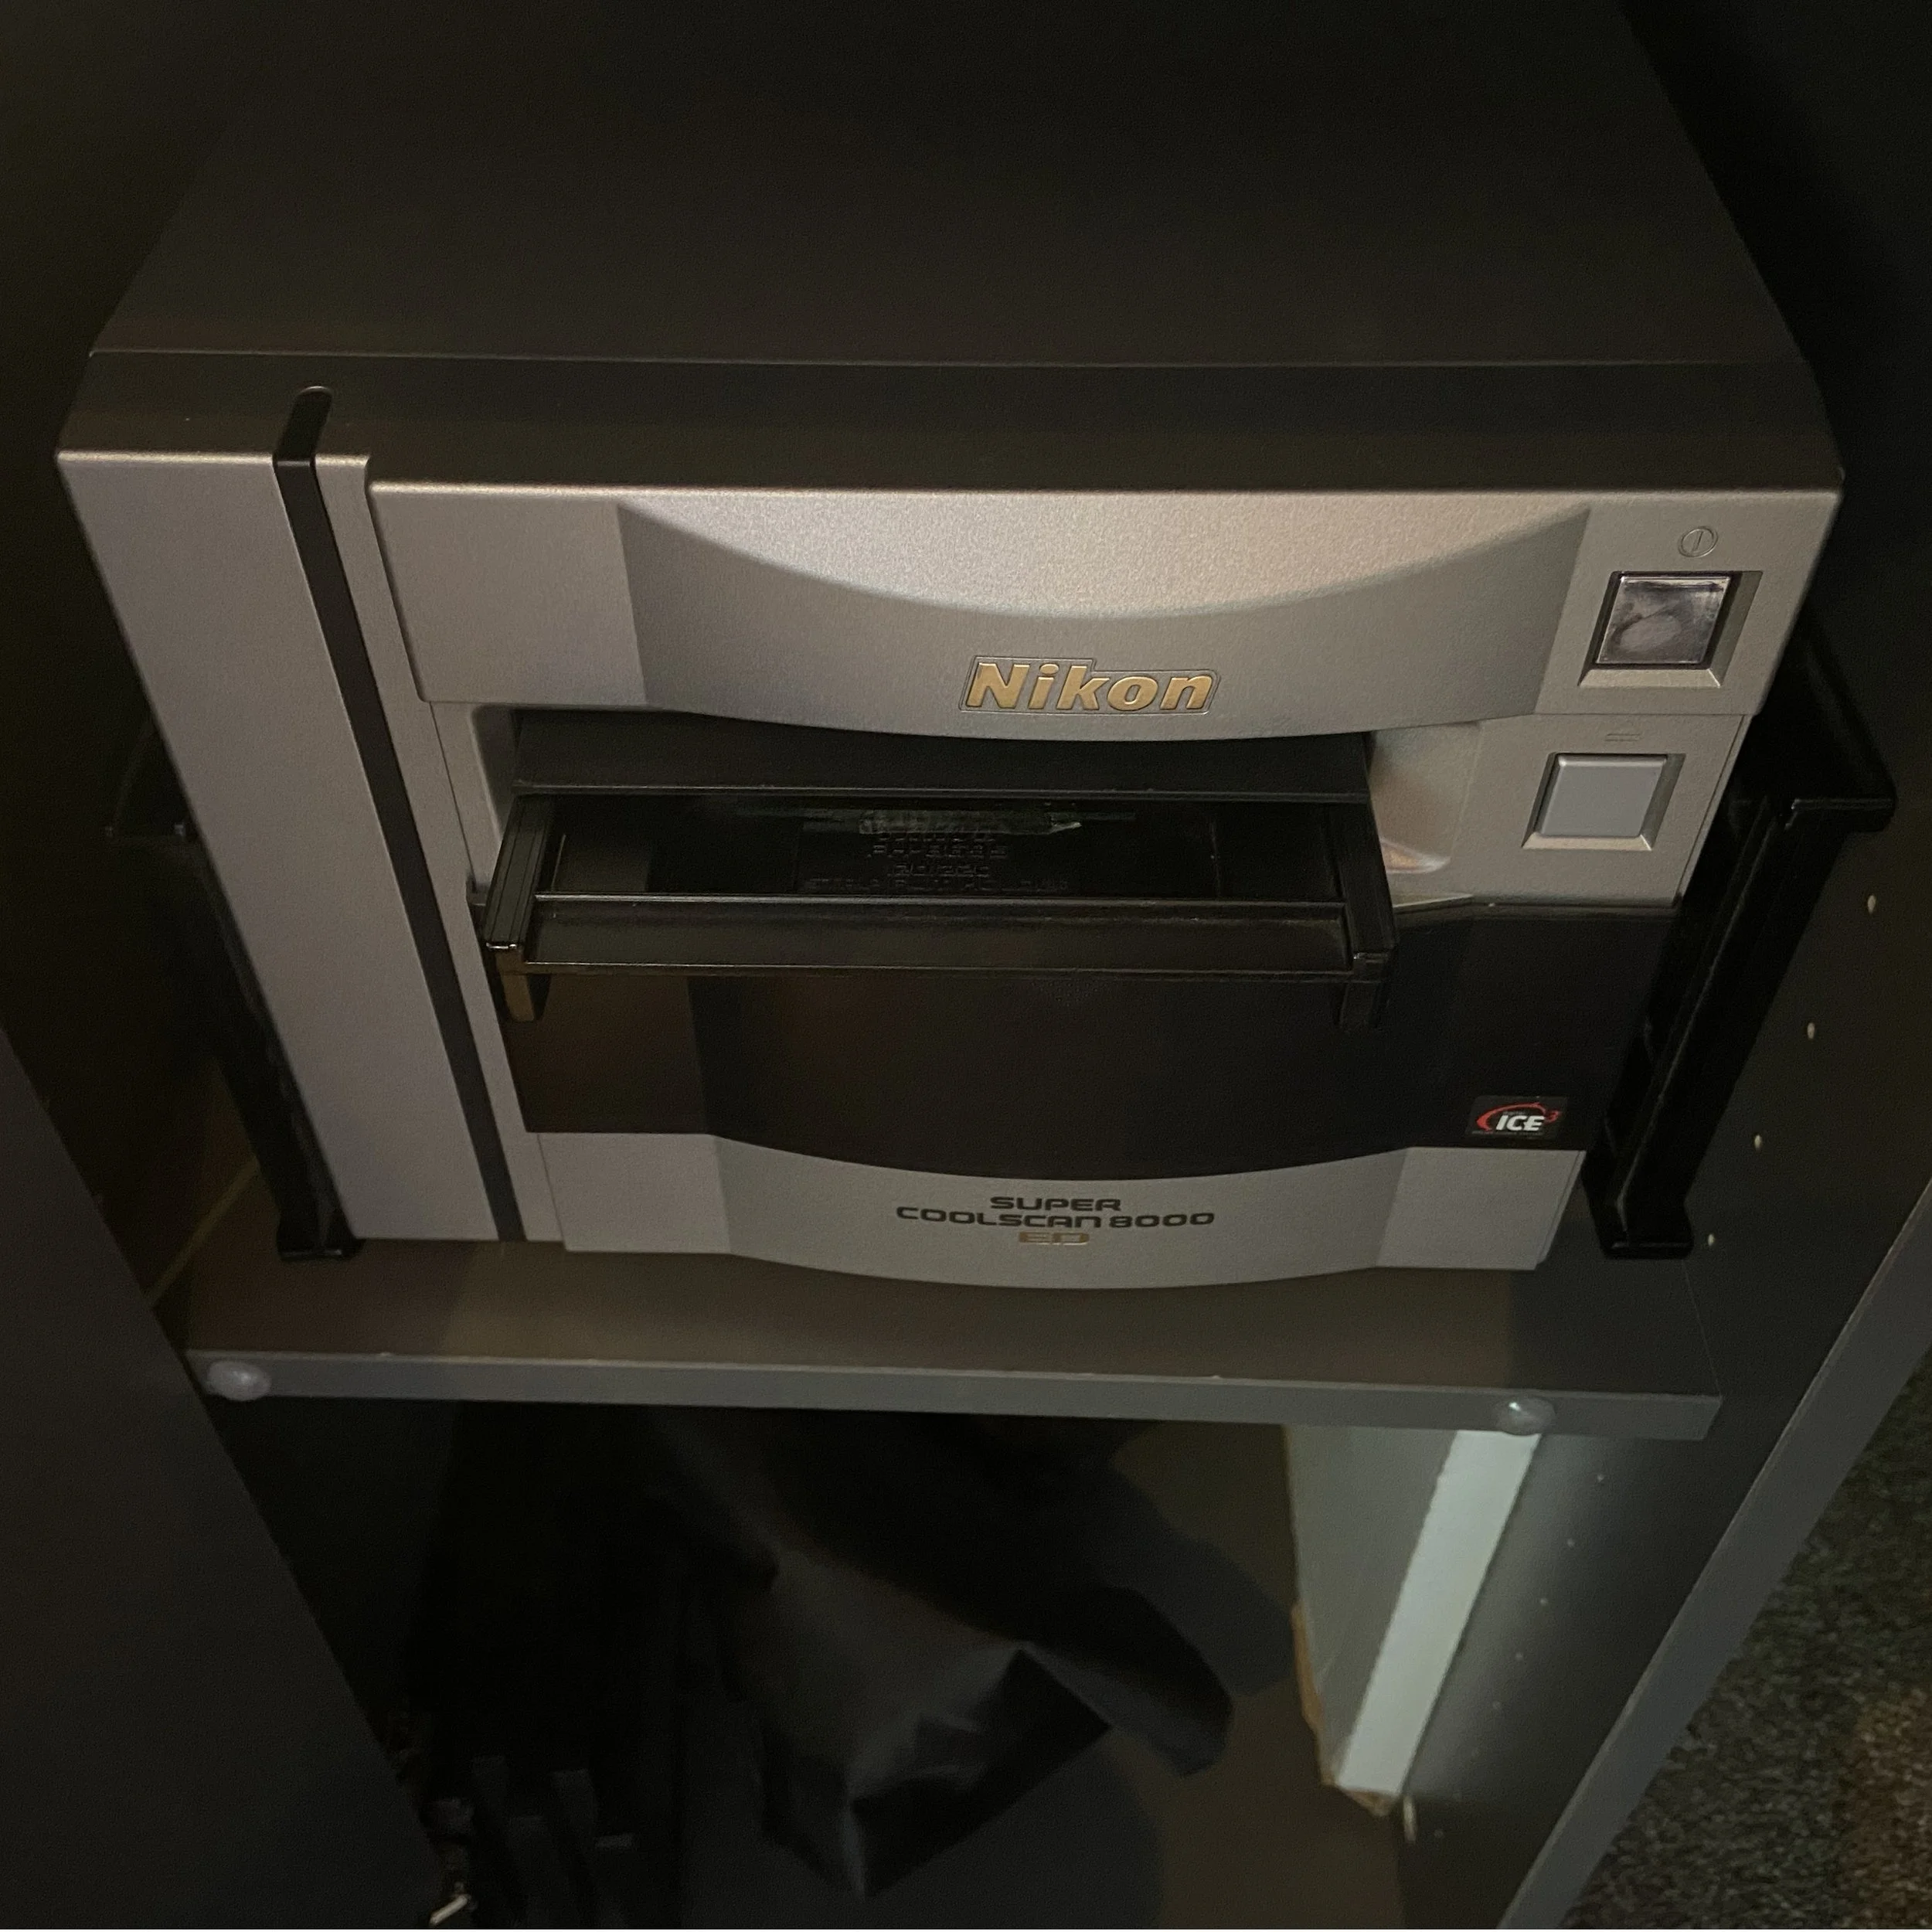
I have used a couple of scanners since beginning this practice, originally I had an Epson V750 which was a decent scanner, I used it in conjunction with Silverfast software. It was sometimes a fight getting the colours right to be totally honest but certainly useable. After using this for a few years my friend Tom Sebastiano had upgraded his Epson V850 to a Nikon Coolscan 8000 and he was blown away with the performance in terms of colour inversion and image quality. I was affected by his enthusiasm, knowing what a stickler Tom is for quality I had to know more. It wasn’t long before I was also an owner of the Coolscan. I bought an old Mac mini from circa 2016 for round the £100 mark and Tom gave me an old Mac monitor to use alongside this old tech. I was able to use the original Nikon software on the Mac. Tom was using this method to good effect. The whole process is intuitive without any third party software. Slow, but it works well enough for me.
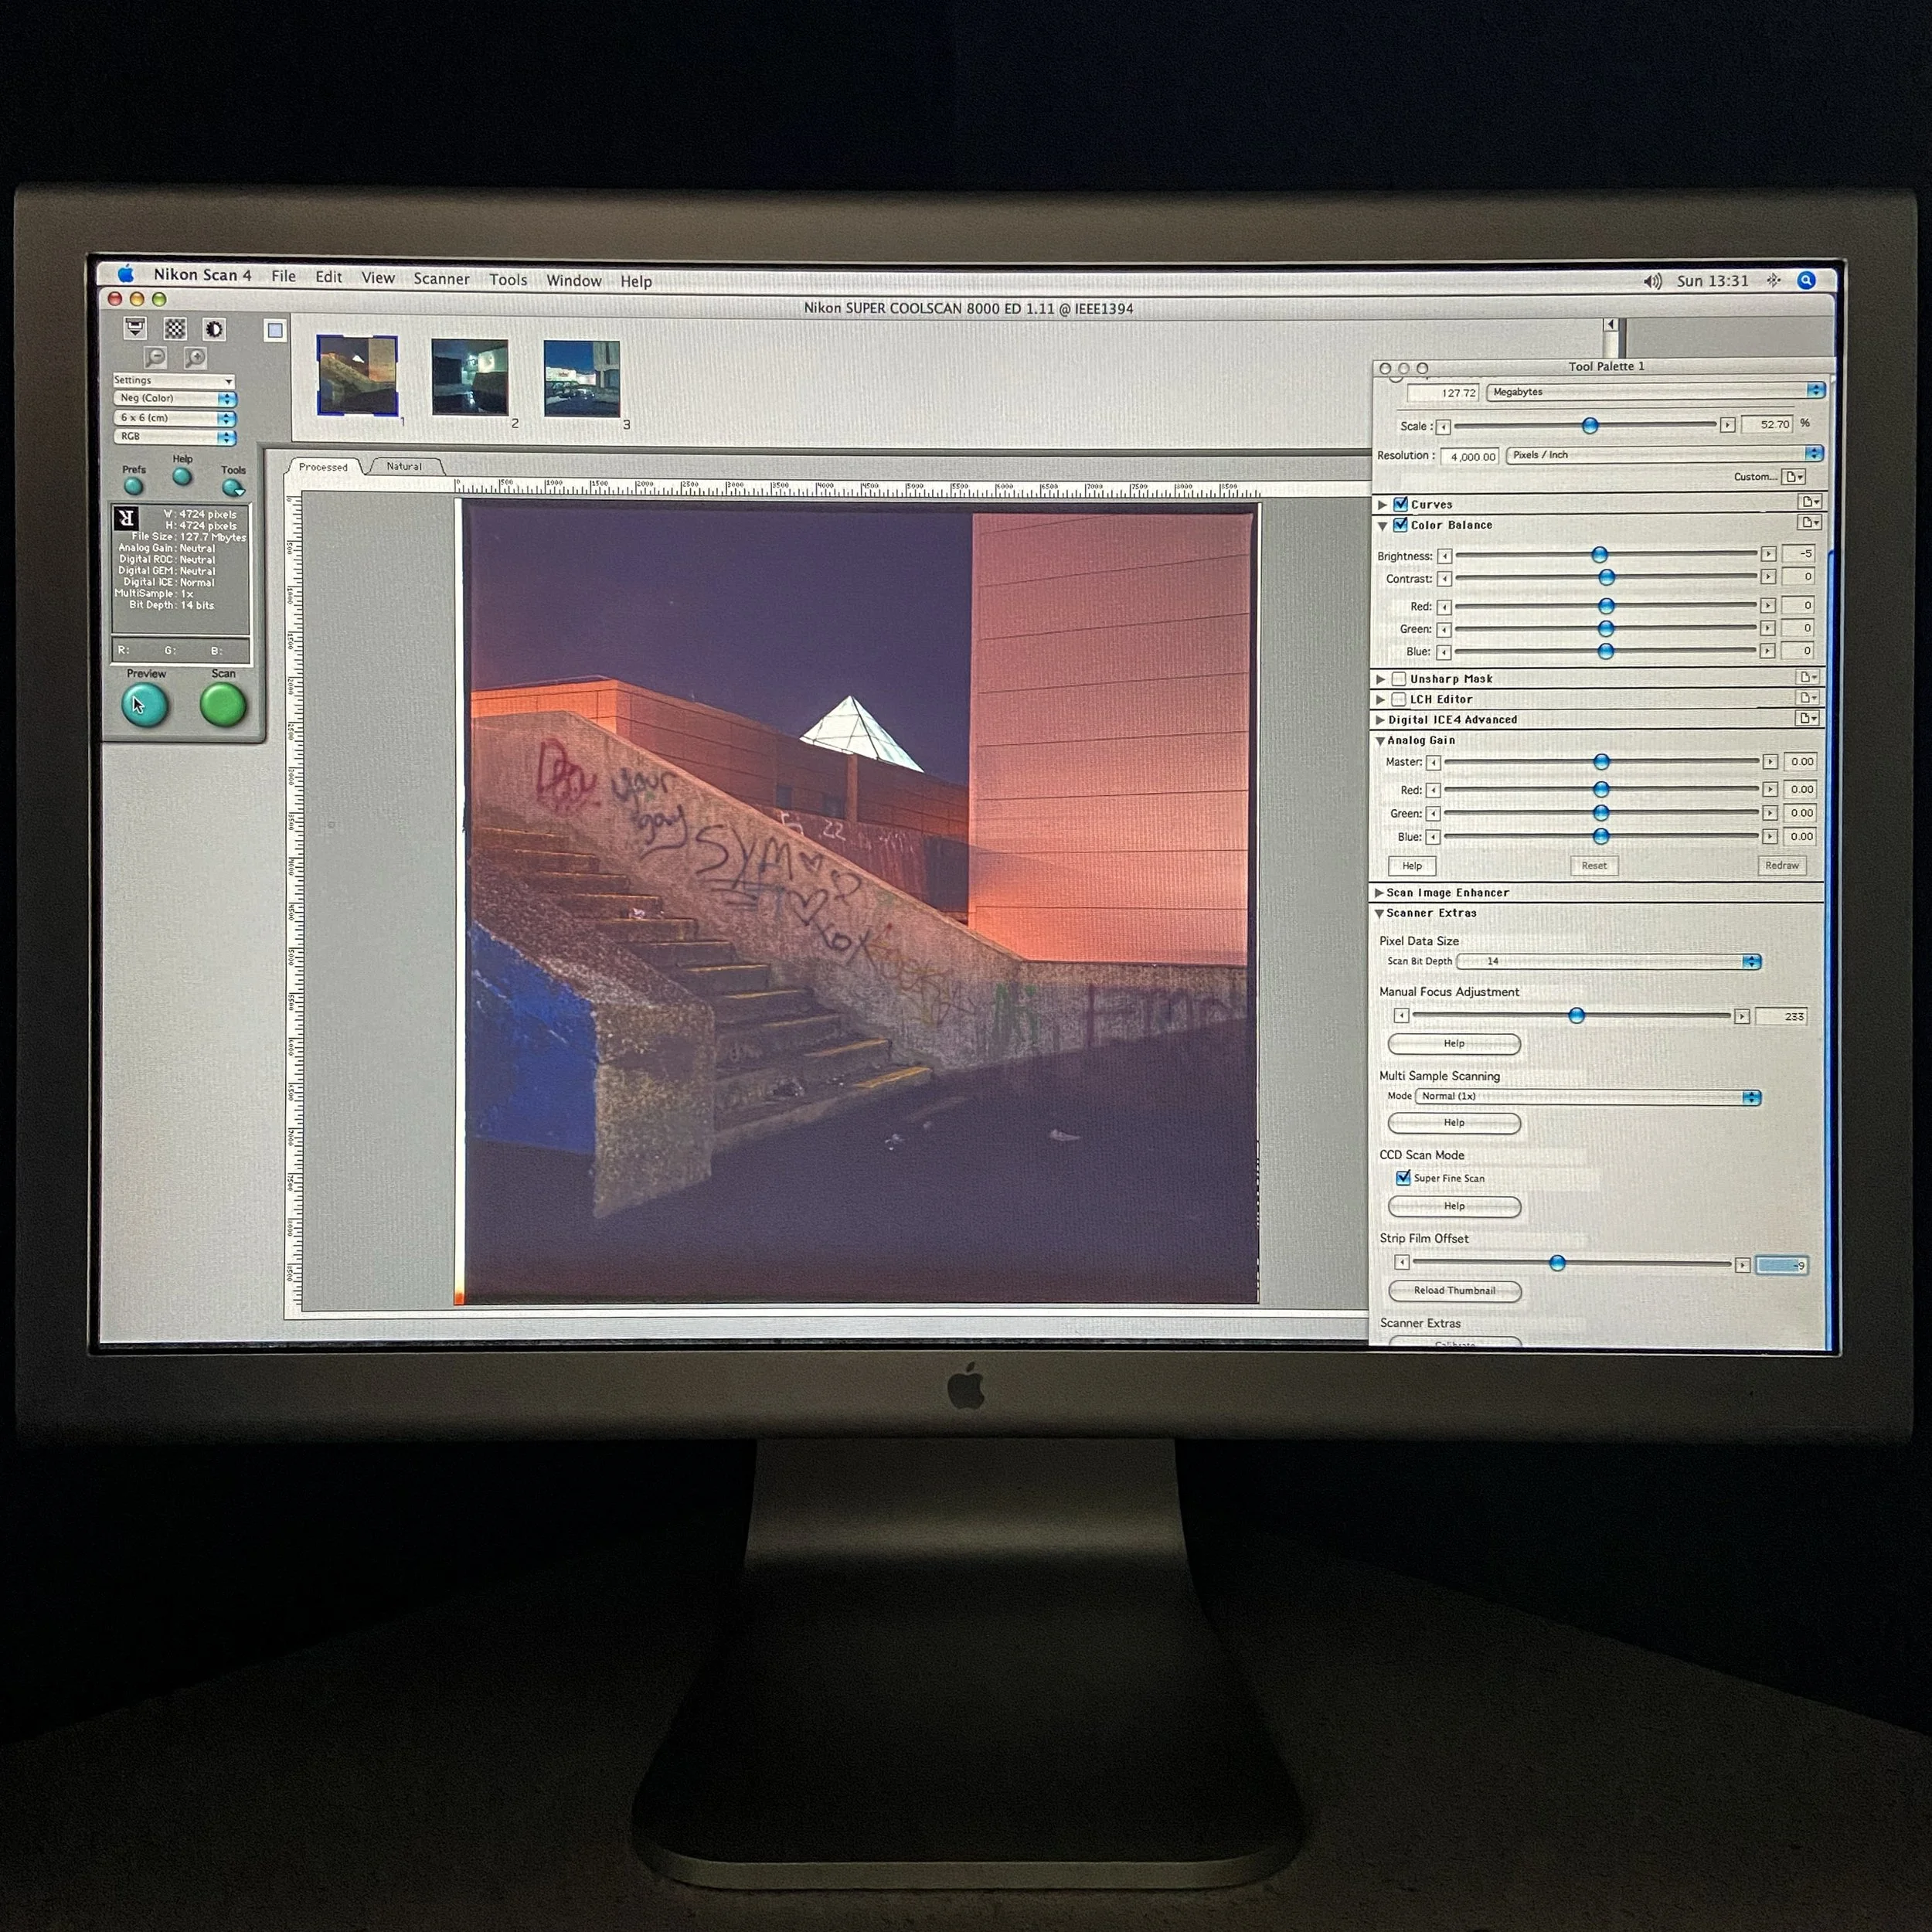
Nikon scan screen with preview scan
The Coolscan is able to get a good amount of dynamic range from the negative and the way it handles colour inversion from the negative is something that was a revelation after using the Epson. It seems to be reasonably close straight after the image preview, there are options to change the colour balance as well as brightness and contrast in the Nikon software pre scan, as well as adjusting what they term analog gain From what I can gather this adjusts the intensity of the light source inside the Coolscan. My method is usually to see what the preview looks like, if it looks balanced I can adjust in photoshop/camera raw to get the image correct given the quality of the scan.
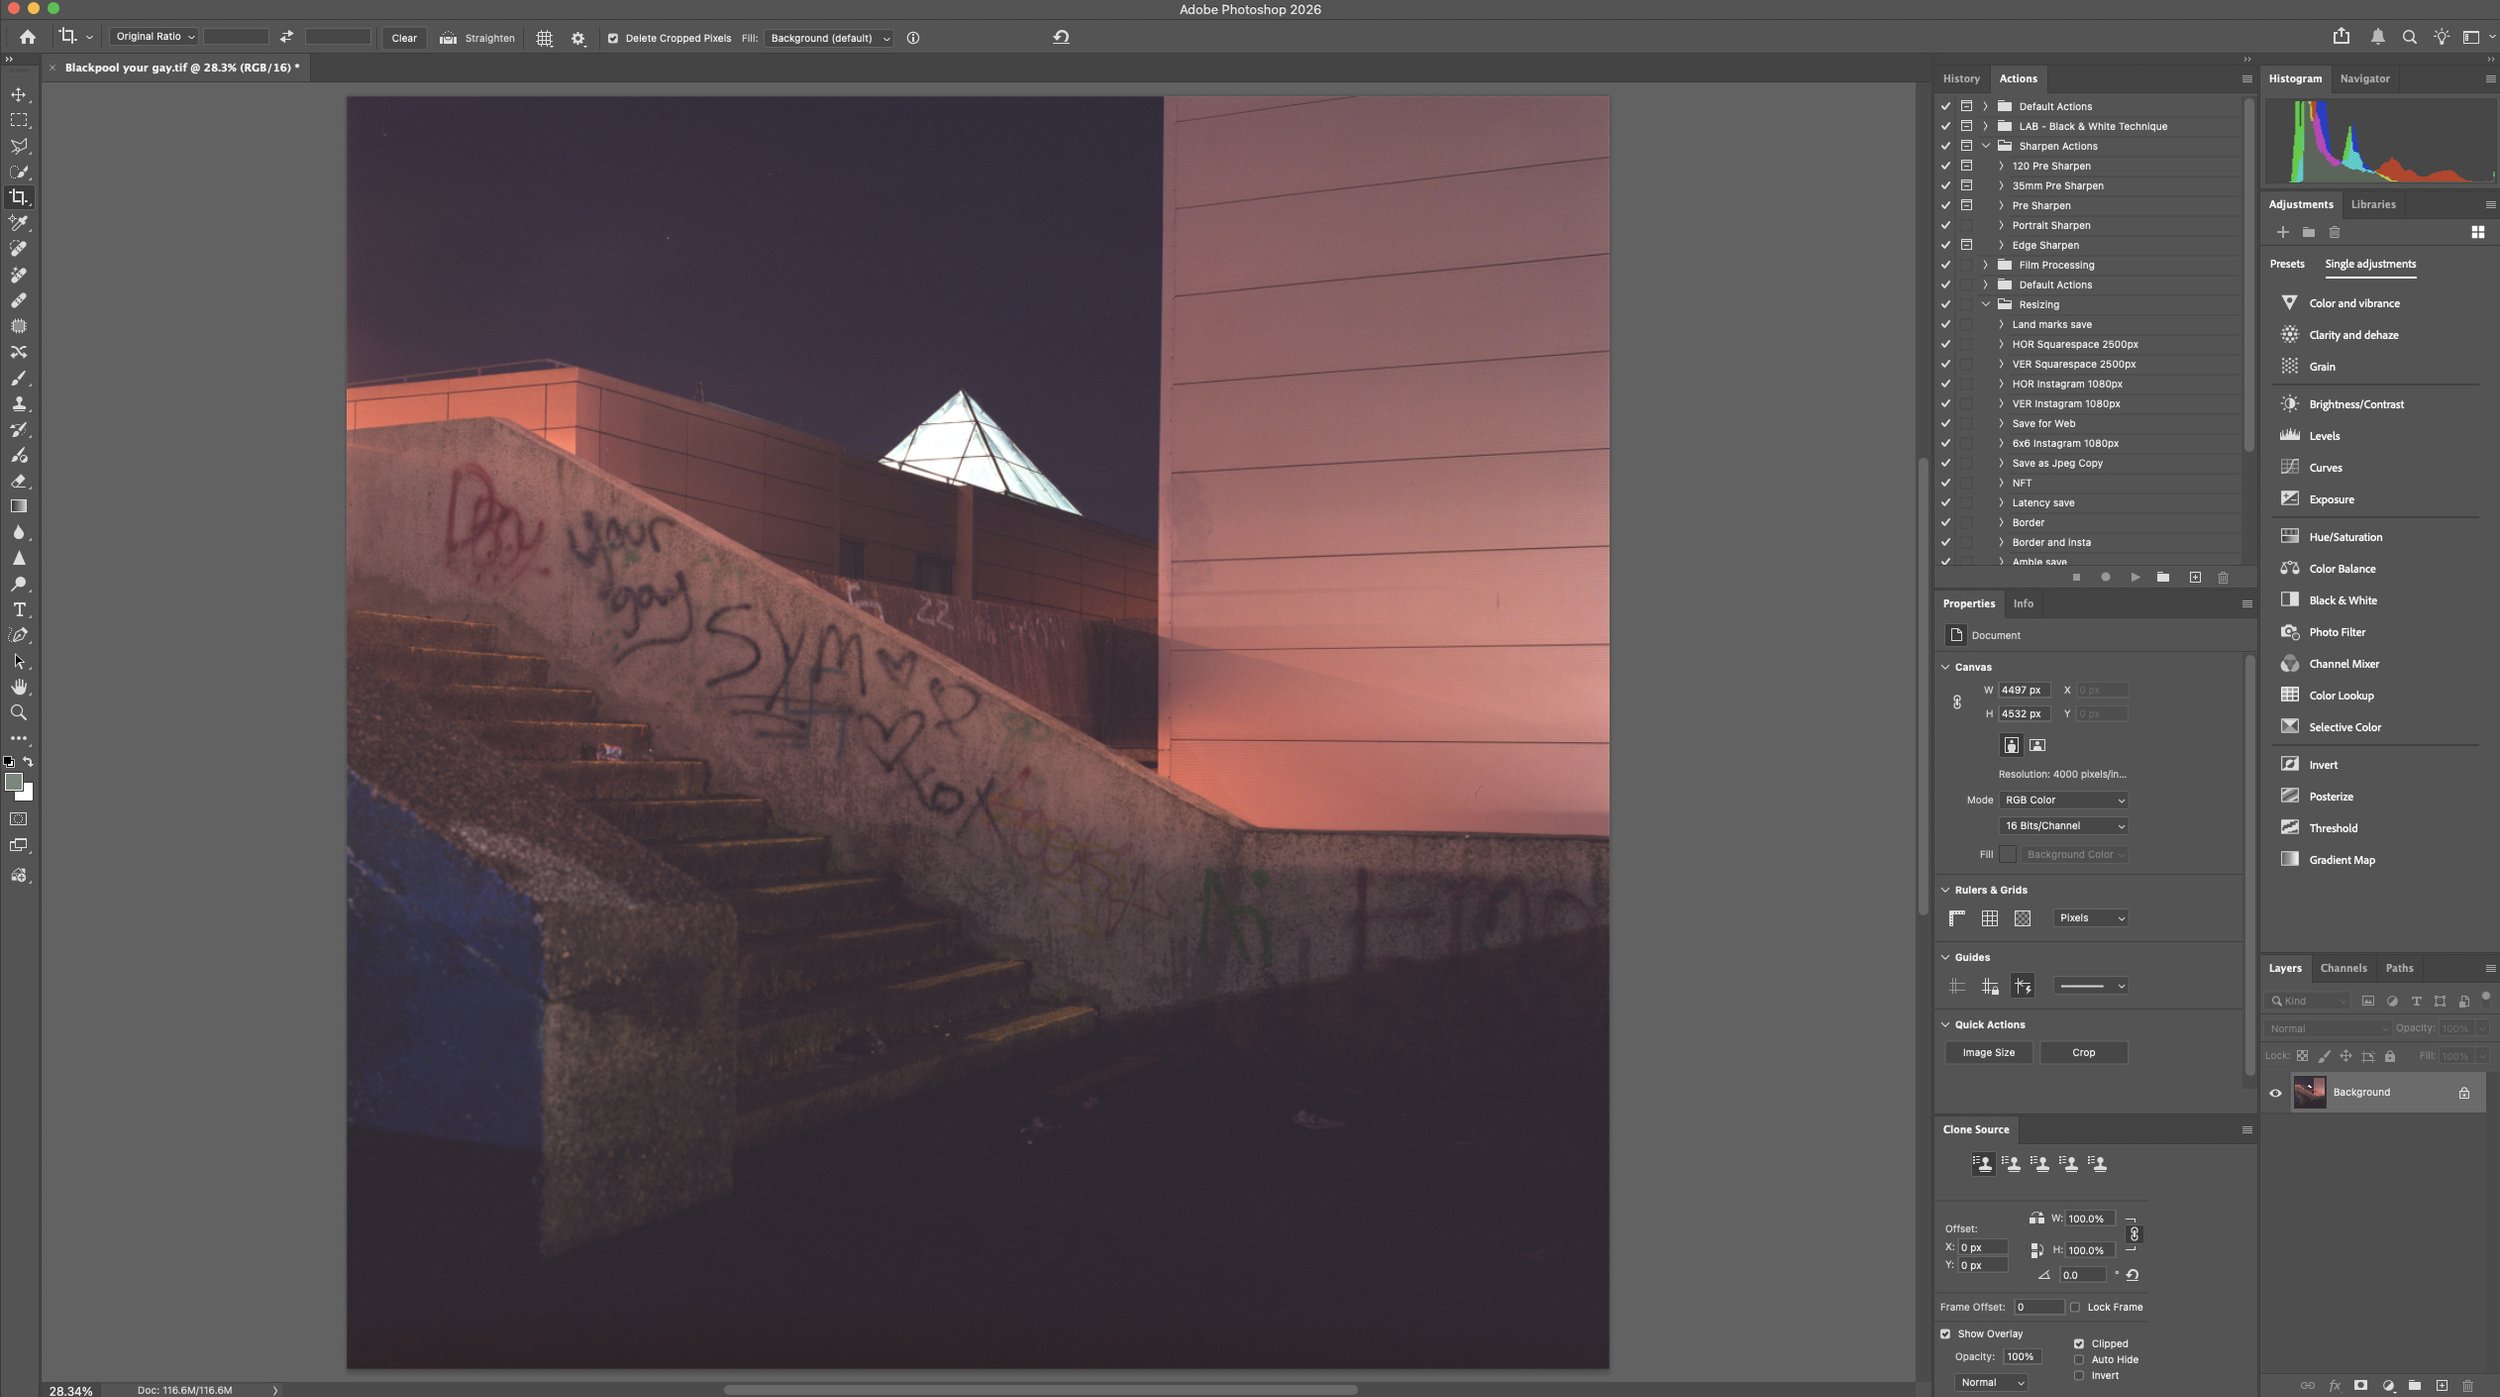
Once scanned, I save the Tiff to a shared drive with my main Mac mini and open in photoshop to fine adjust the scan. This image is relatively straightforward as the scan is great.
Tiff straight out of Nikon scan

Edited and aligned Tiff then saved as .PSD
The original scan had some litter and marks on the building behind ( indicated ) so I cleaned them up a tad and checked for alignment. I usually try and get things right alignment wise in camera whilst composing so it minimises missing things if there is a need for adjustment in post. This image is pretty bang on fortunately so the composition was un-affected.
Final adjusted image
I have got my monitor close enough to calibrated to the one at local printers. I have a good relationship with the printer and I know that I can view my image on his calibrated screen, the paper profile that will be used before printing is also applied there so that I know what I am getting beforehand.
I have just put this image example, along with a few others shot on different film stocks onto the print section on this site. I thought that I might title the image “your gay?” Or maybe leave it as Funland steps…